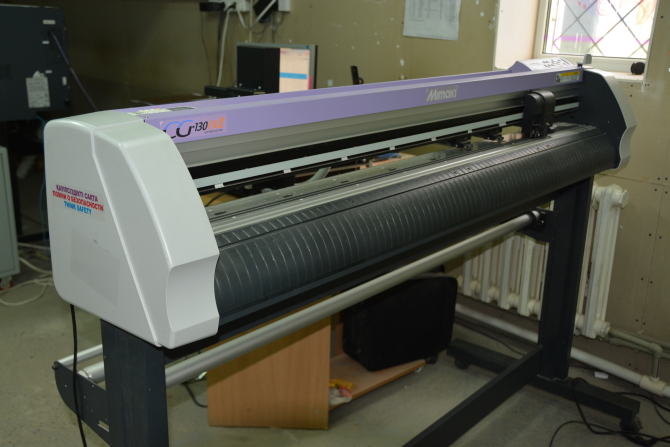
Vinyl Plotter & Cutter - Mimaki CG-130FX: Difference between revisions
Jump to navigation
Jump to search
(Add instructions for use) |
No edit summary |
||
| Line 17: | Line 17: | ||
== Setting up Vinyl Master == | == Setting up Vinyl Master == | ||
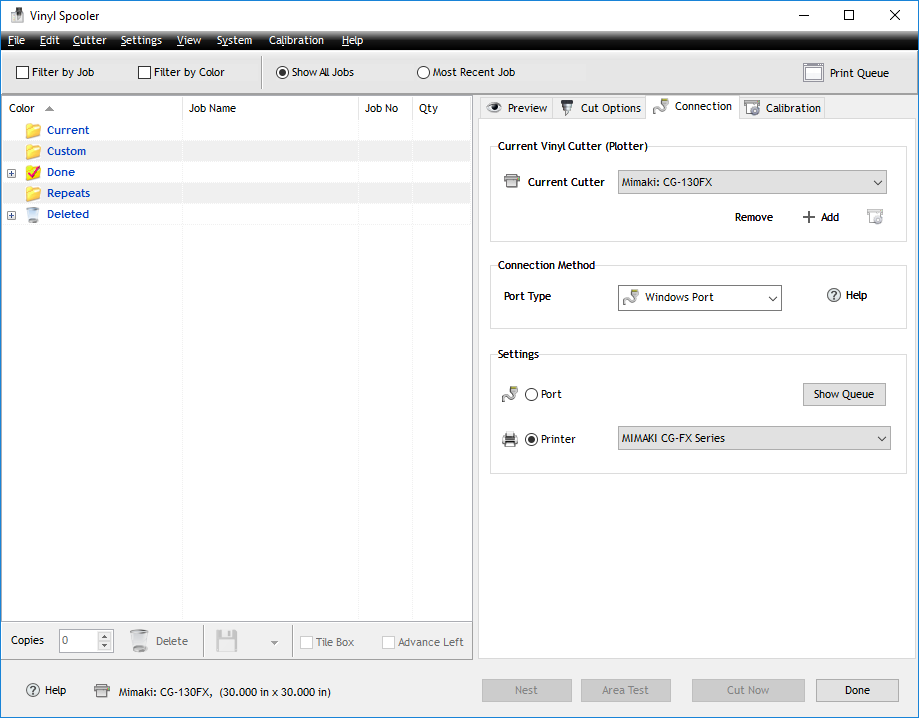
Under tools -> Plugins and Modules -> Vinyl Spooler -> Configuration Tab | |||
Ensure settings match this graphic | |||
[[File:mimaki-settings.png]] | |||
[[category:equipment]][[category:design]][[category:Main Room | [[category:equipment]][[category:design]][[category:Main Room]] | ||
Revision as of 16:05, 2 February 2017
http://mimaki.com/product/cutting/c-roll/cg-fx-series/driver.html?driver=81072
Instructions for Use
- Plug in usb cable into PC (The 3D design station computer is right next to it)
- Power on computer and cutter
- Wait for cutter to load / buffer
- Press the left arrow button to set the cutter to use
- Press "End" when TP1 shows on the LCD panel
- Press / hold the up/down left/right arrow keys to move origin
- Press "Enter / HOLD" to set origin point
- Press "Remote On" to toggle computer control of the cutter
Setting up Vinyl Master
Under tools -> Plugins and Modules -> Vinyl Spooler -> Configuration Tab

