Overhead Projector: Difference between revisions
Jump to navigation
Jump to search
| Line 12: | Line 12: | ||
#Use BENQ white remote in plastic holder on the wall and set projector to HDMI | #Use BENQ white remote in plastic holder on the wall and set projector to HDMI | ||
#:Select, and depress, the button labelled "HDMI"<br> | #:Select, and depress, the button labelled "HDMI"<br> | ||
===Using the Auxiliary | ===Using the Auxiliary HDMI input with cable=== | ||
#Plug the HDMI cable tagged "PROJECTOR" into the source device's HDMI output. | #Plug the HDMI cable tagged "PROJECTOR" into the source device's HDMI output. | ||
#:The cable is on the large counter with the cabinets underneath. | #:The cable is on the large counter with the cabinets underneath. | ||
Revision as of 12:52, 27 June 2014
BenQ Projector
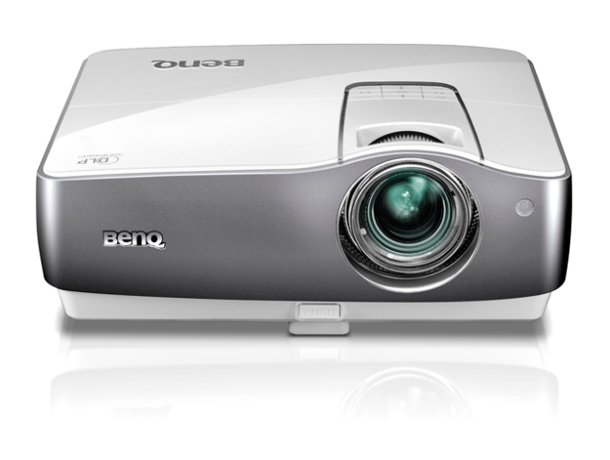
At HackRVA Labs, Inc. we have a 1080p resolution BenQ W1200 Projector.

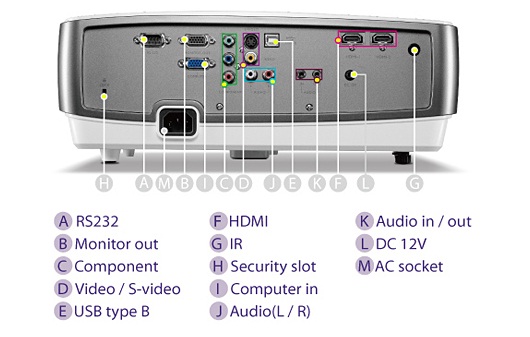
The rear view should be referenced for installation requirements.

Projector Usage Instructions
Using the Primary HDMI input
This information is for reference only, since the Chromecast is installed in the primary HDMI port
- Plug the HDMI cable tagged "PROJECTOR" into the source device's HDMI output.
- The cable is on the large counter with the cabinets underneath.
- Use BENQ white remote in plastic holder on the wall and set projector to HDMI
- Select, and depress, the button labelled "HDMI"
- Select, and depress, the button labelled "HDMI"
Using the Auxiliary HDMI input with cable
- Plug the HDMI cable tagged "PROJECTOR" into the source device's HDMI output.
- The cable is on the large counter with the cabinets underneath.
- Use BENQ white remote in plastic holder on the wall and set projector to HDMI2
- Select, and depress, the button labelled "HDMI2"
Using the SVGA input cable
- Use the source device's VGA output to connect the cable tagged "PROJECTOR".
- The cable is on the large counter with the cabinets underneath.
- Use BENQ white remote in plastic holder on the wall and set projector to PC
- Select, and depress, the button marked "PC"